Elevate
Highlighting the important things.
Team Members
Christopher Haas
My Role
Designer
Fabrication
Tools and Skills
Woodwork
Arduino/Circuitry
3-D printing
Rhino/Grasshopper
Project Description
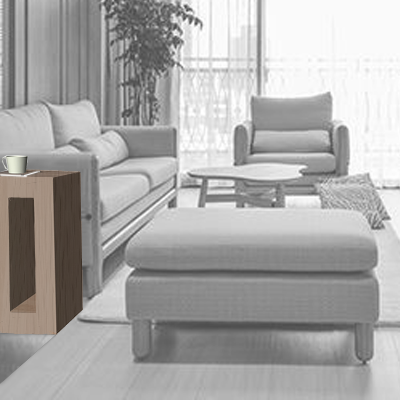
Elevate makes users more conscious of their belongings, while also creating an aesthetic piece of furniture that users would want to use and interact with.
During this time we are all stuck in our houses with limited activity and day to day interaction. Elevate provides a response to your actions to emphasize and highlight the importance of your belongings.
Duration
4 weeks
Choosing a Direction
As a team we were drawn to the idea of smart living. We began brainstorming items that could replace regular furniture and make it interactive.
We decided to move forward with creating a responsive coffee table as it would reach a wide set of users.
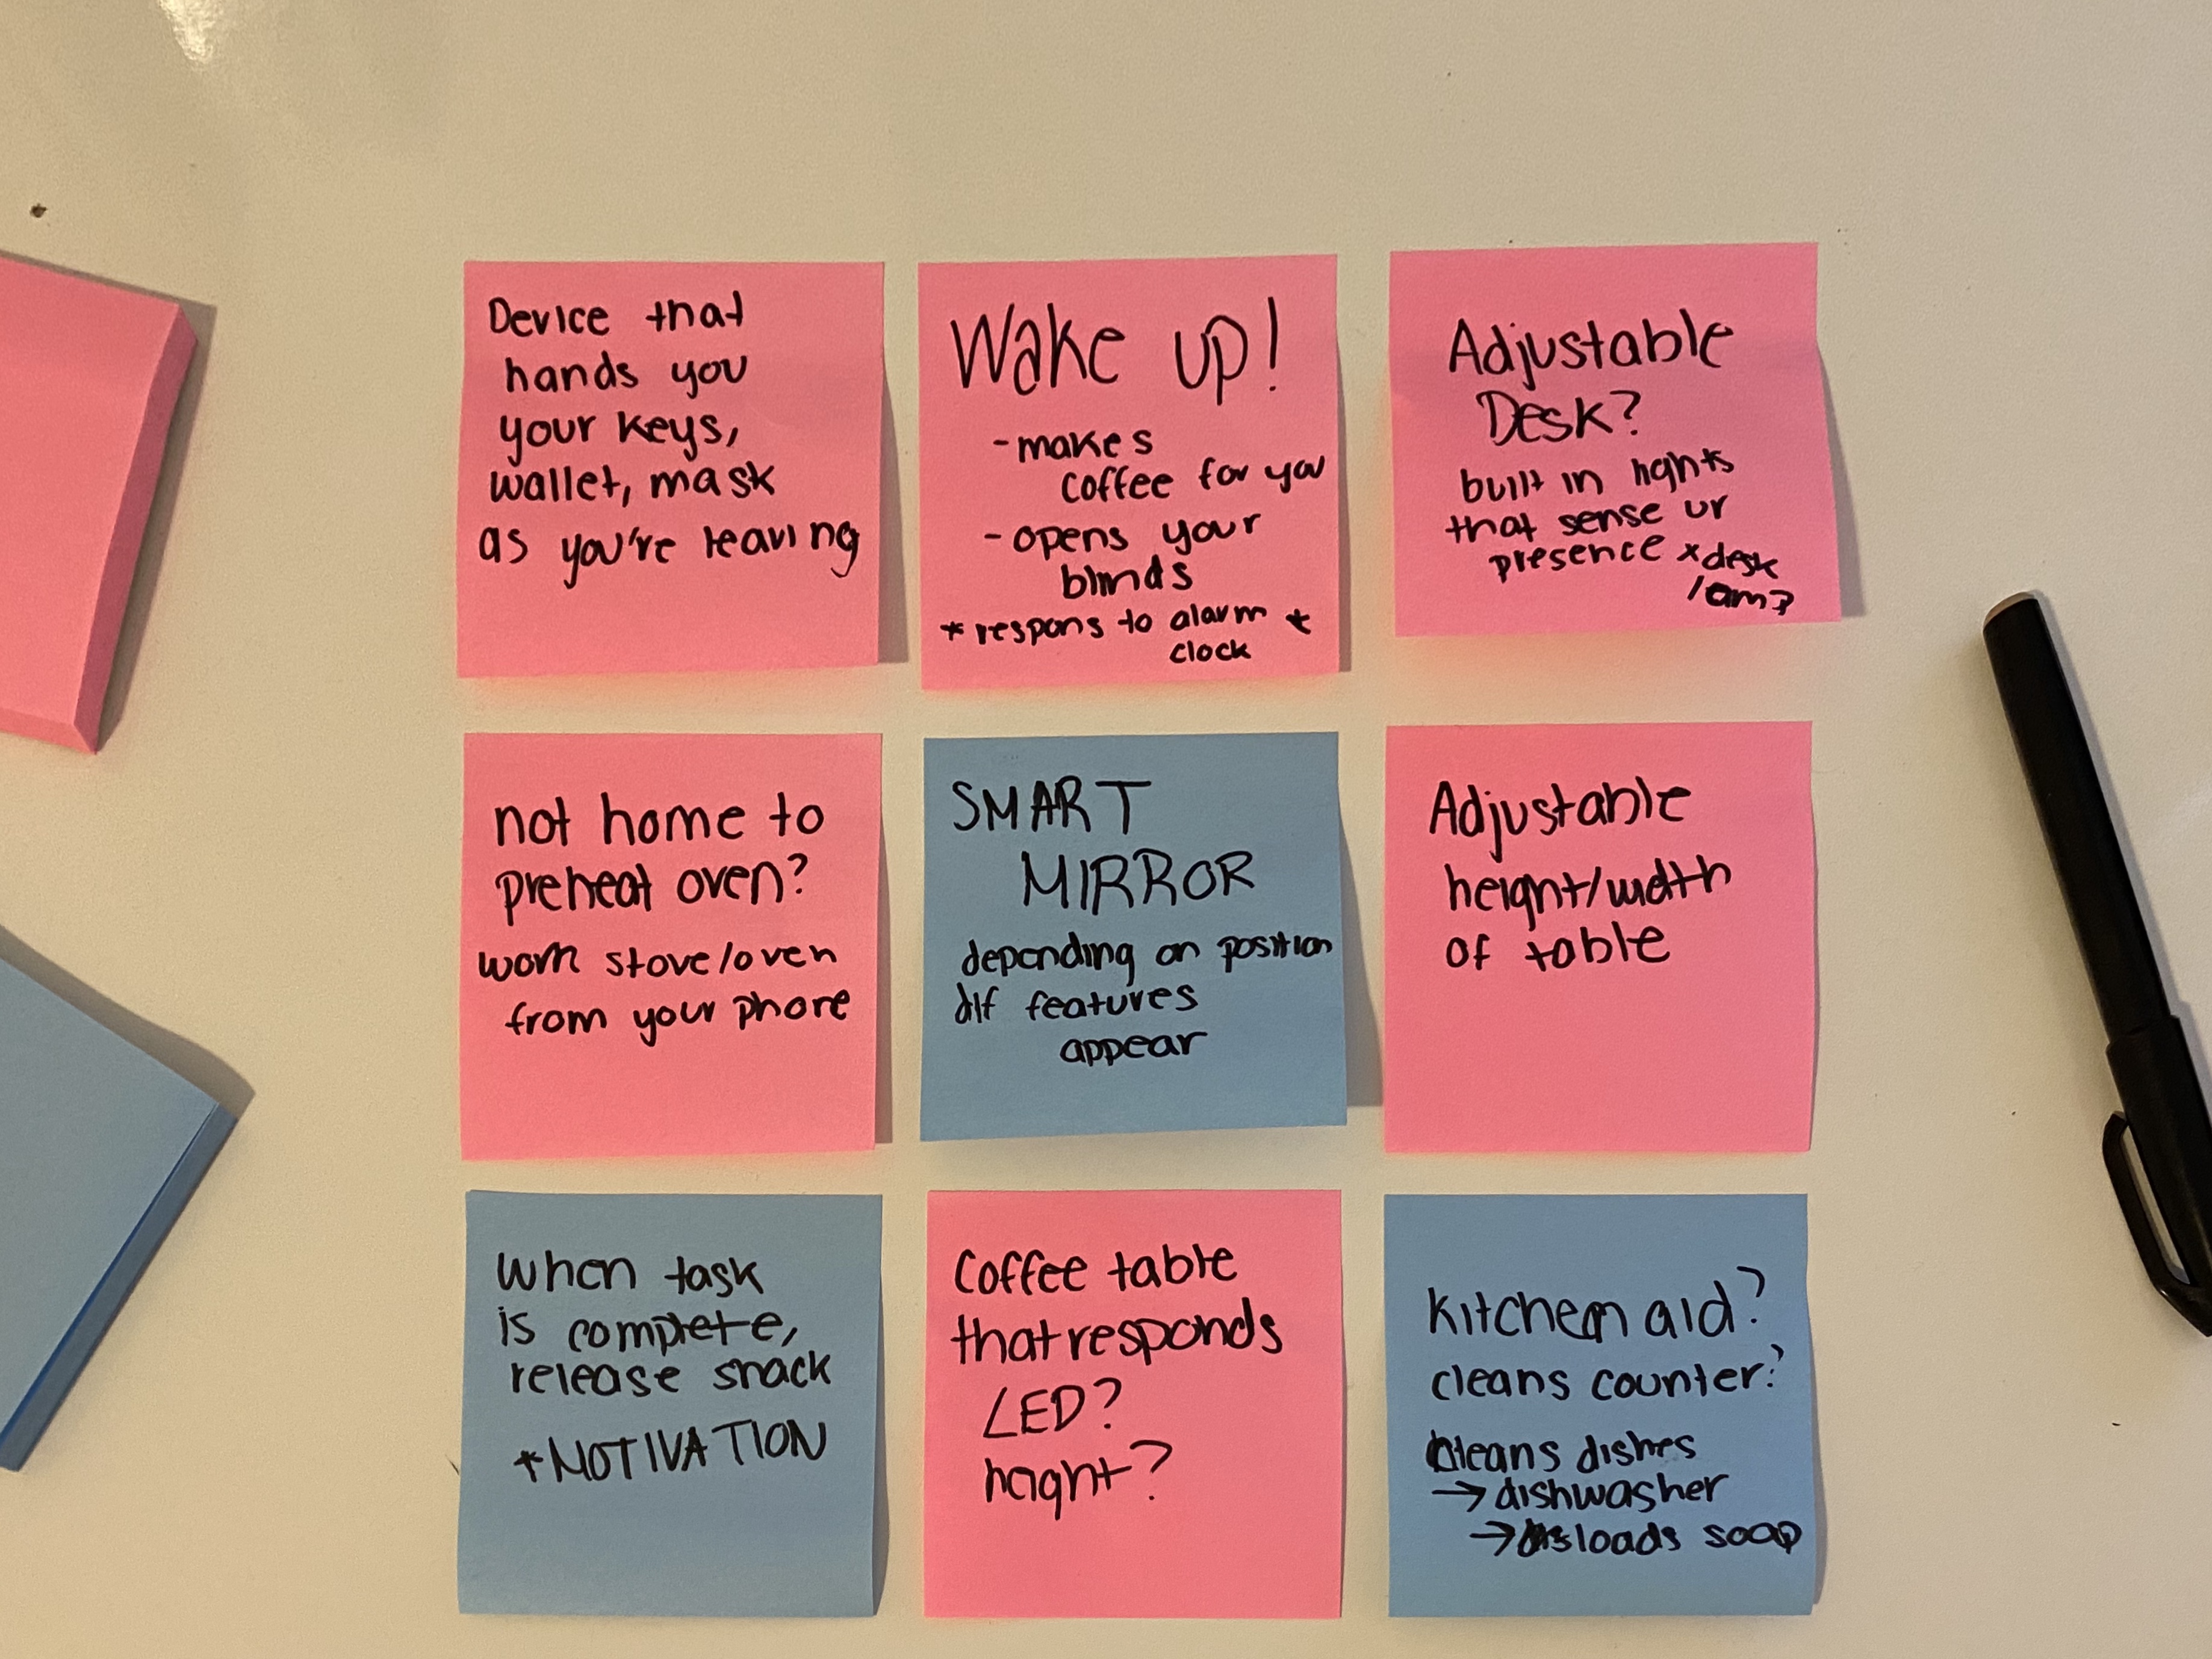
Brainstorm
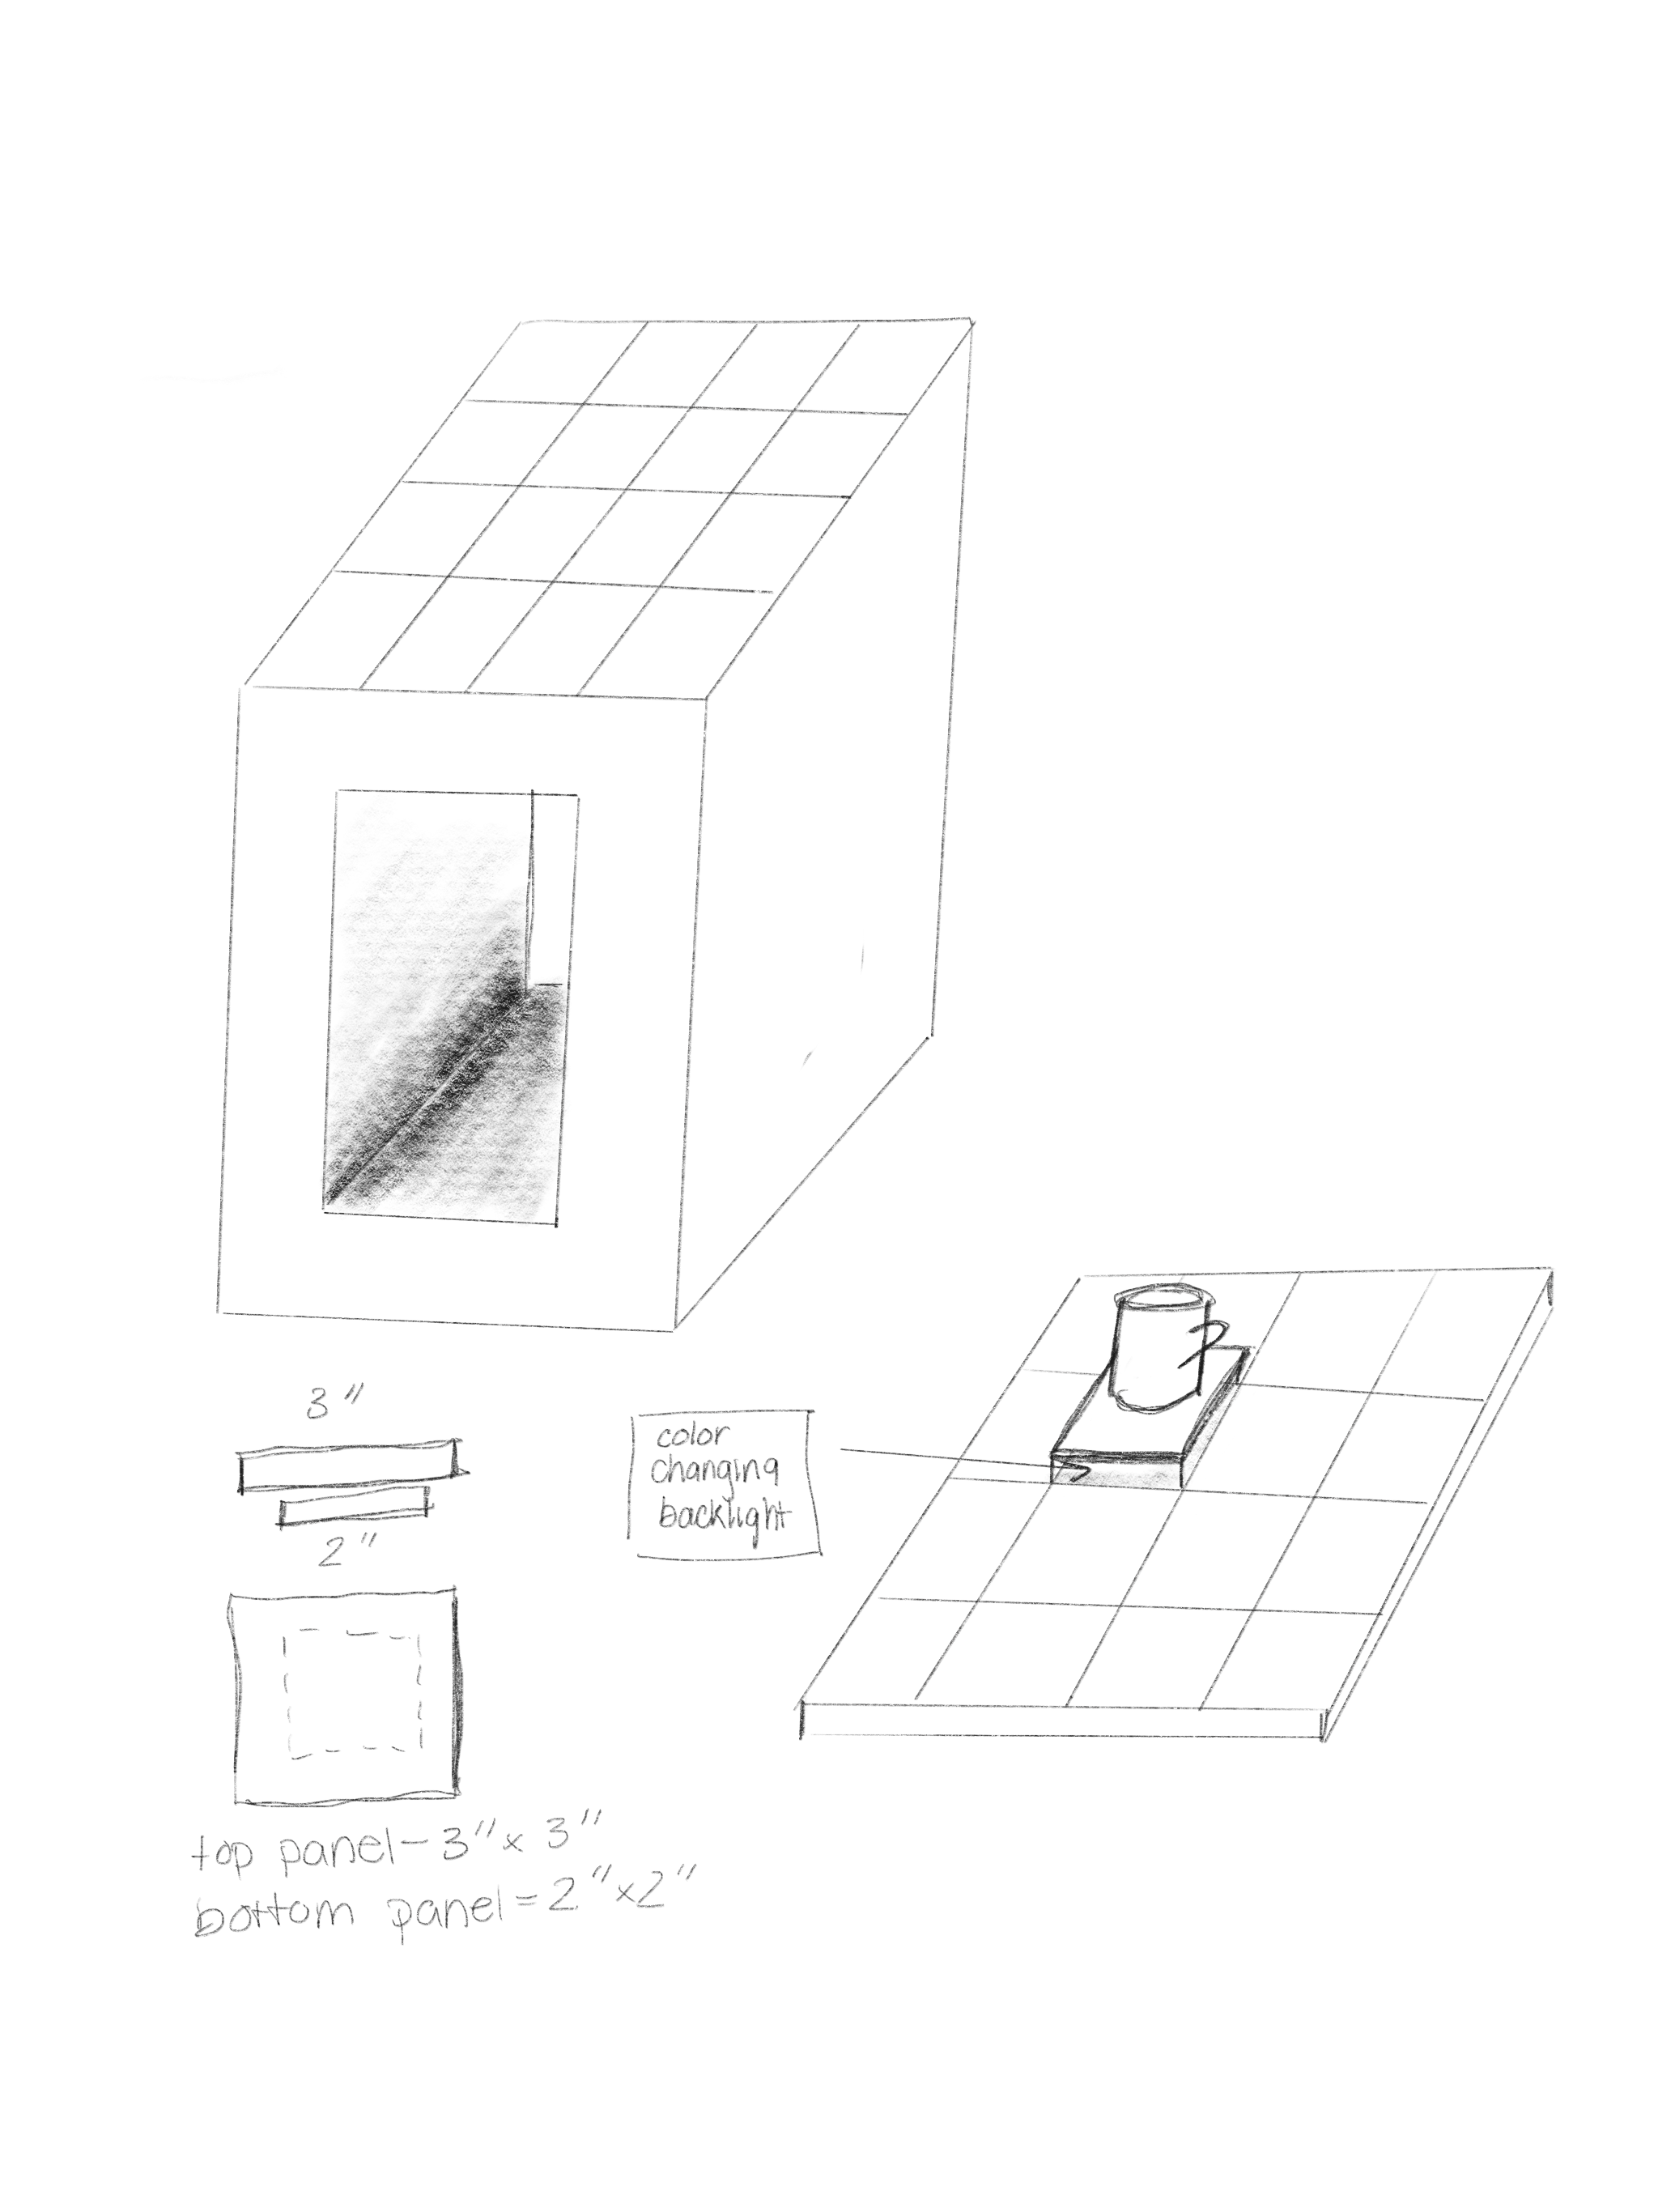
In our sketches we began exploring different forms the table could take. We didn't want the entire table to respond, so we thought of splitting the table into multiple pannels. Each pannel would respond based on the interaction.
Brainstorm Continued
We started to think about different components we will need to move forward. We would need the following:
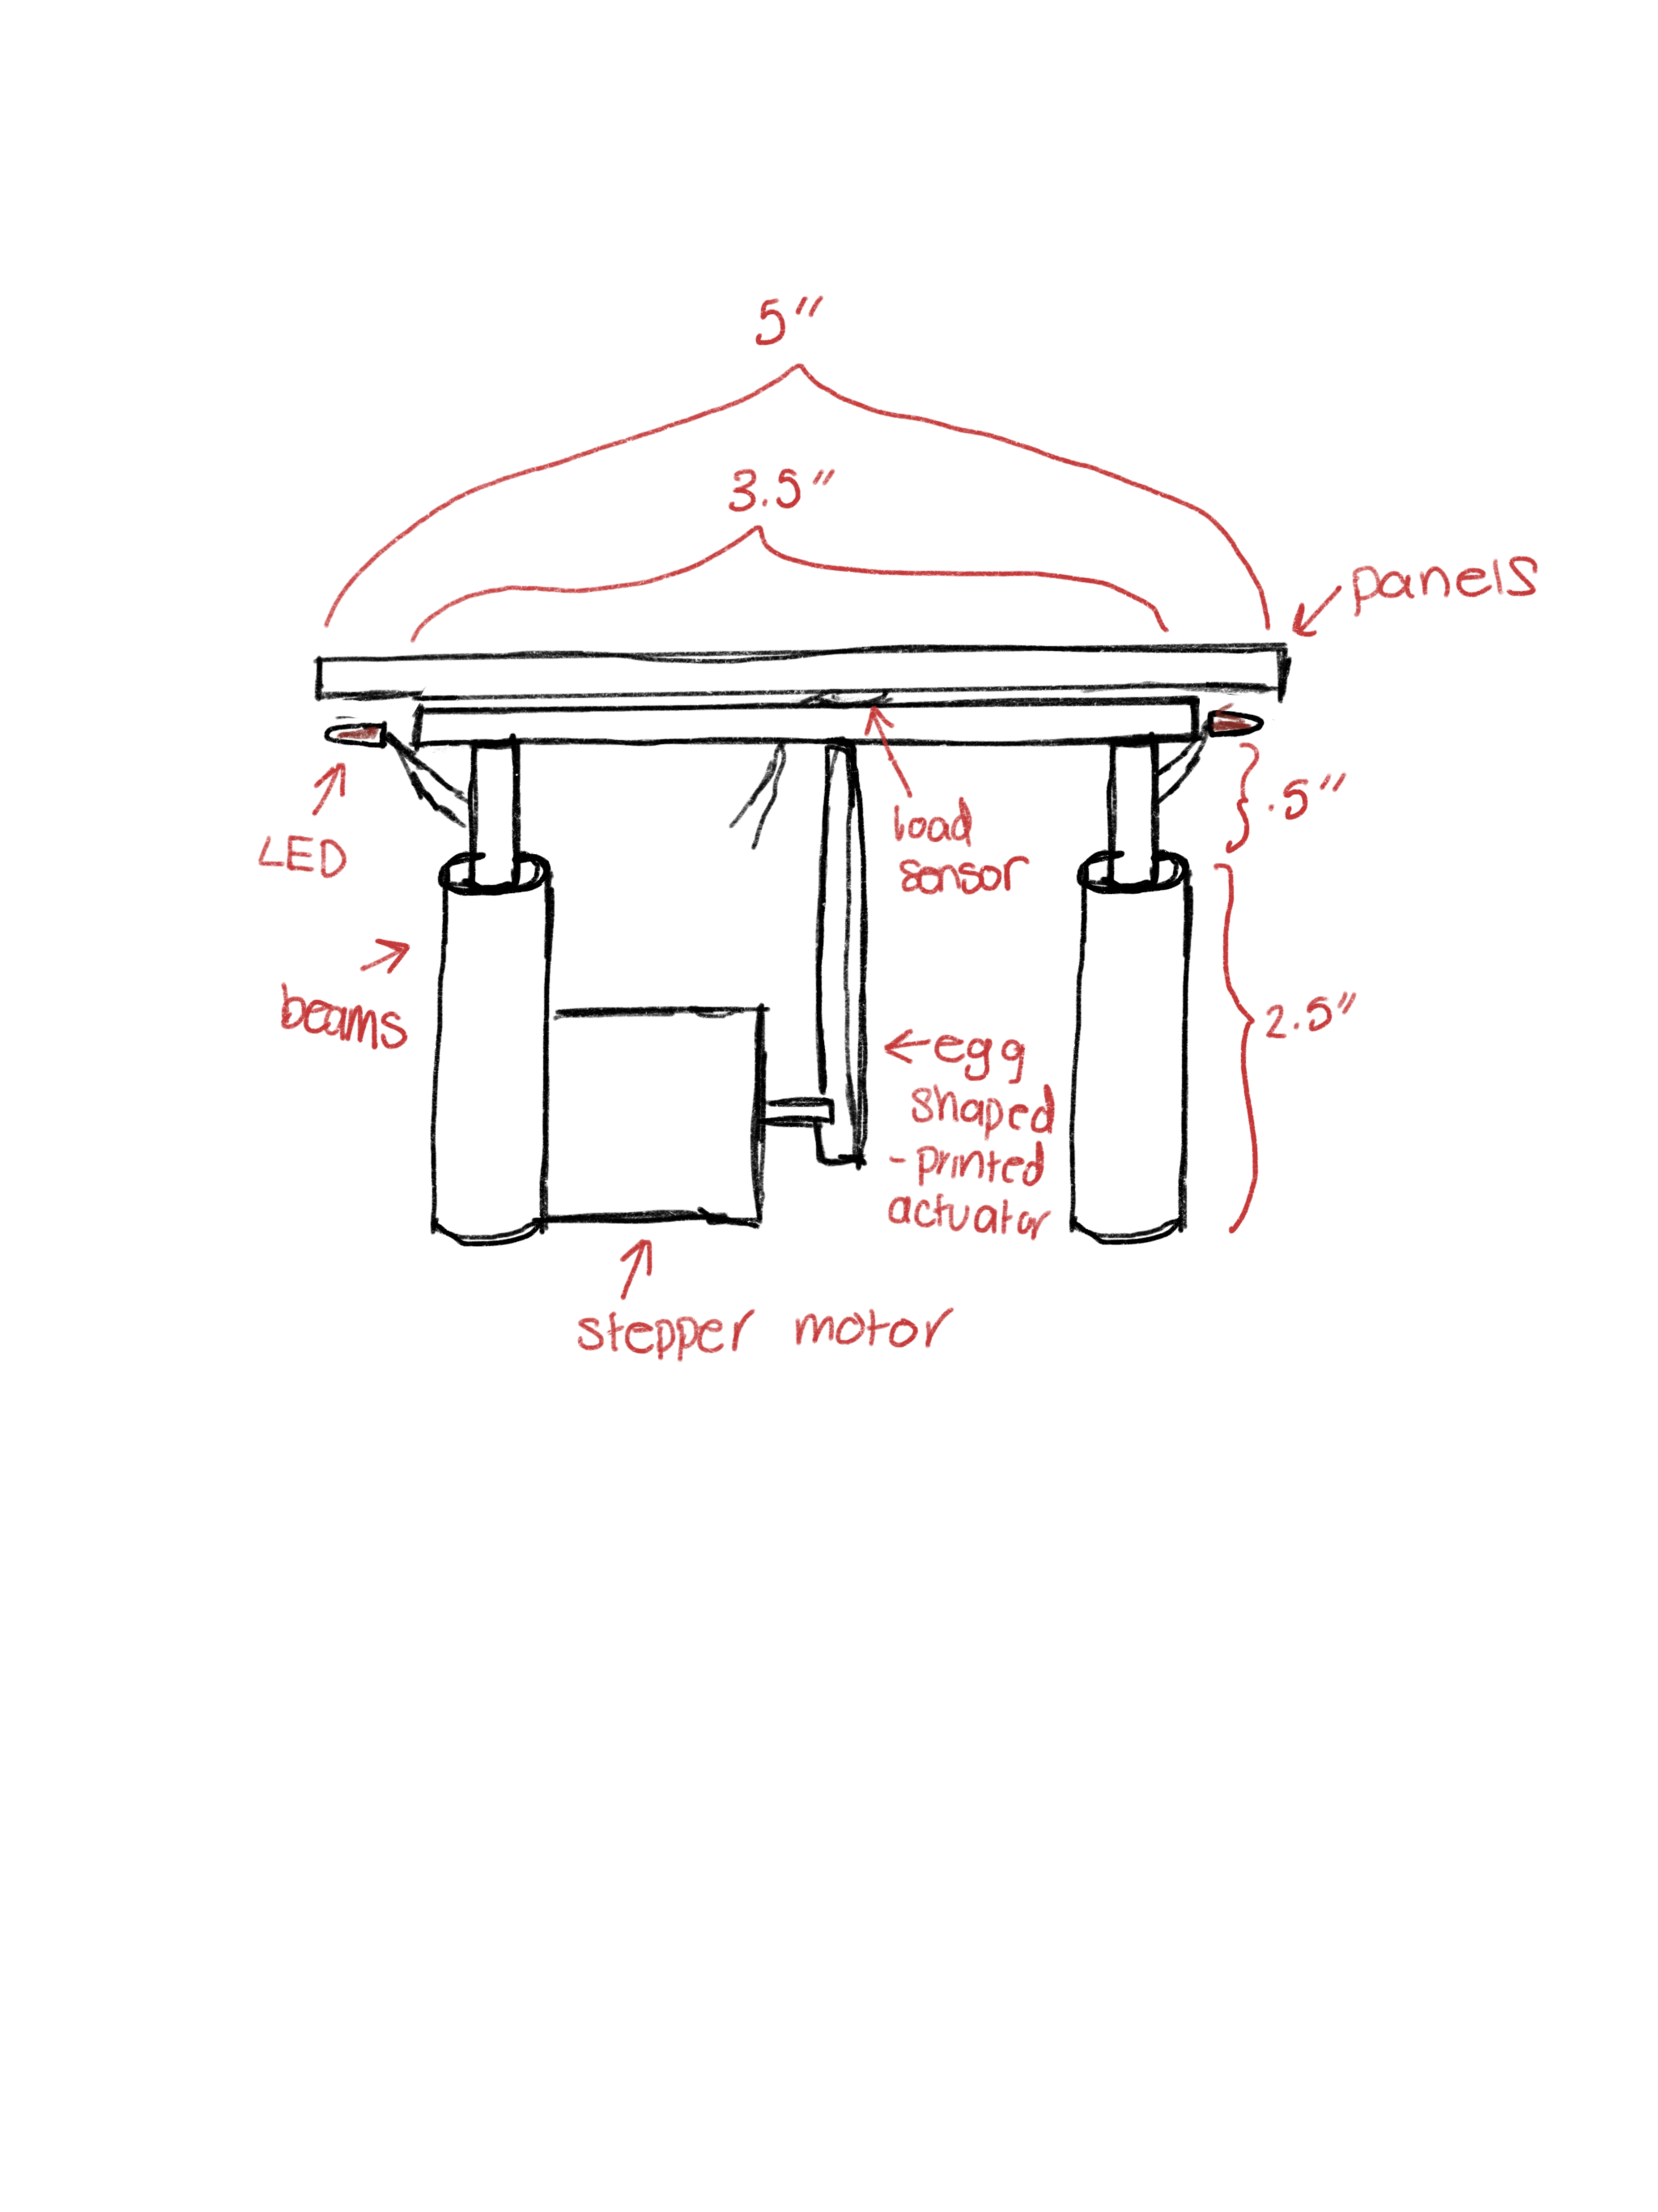
- linear actuator to move the panels
- LED lights for a backlight
- load sensor to sense interaction
The next step in our process was to create a prototype of one of the panels with all the components.
Goal
After brainstorming a couple ideas on how to approach the project we created a 3-D digital model to mimic what we imagined the final product would look like and function like.
Planning
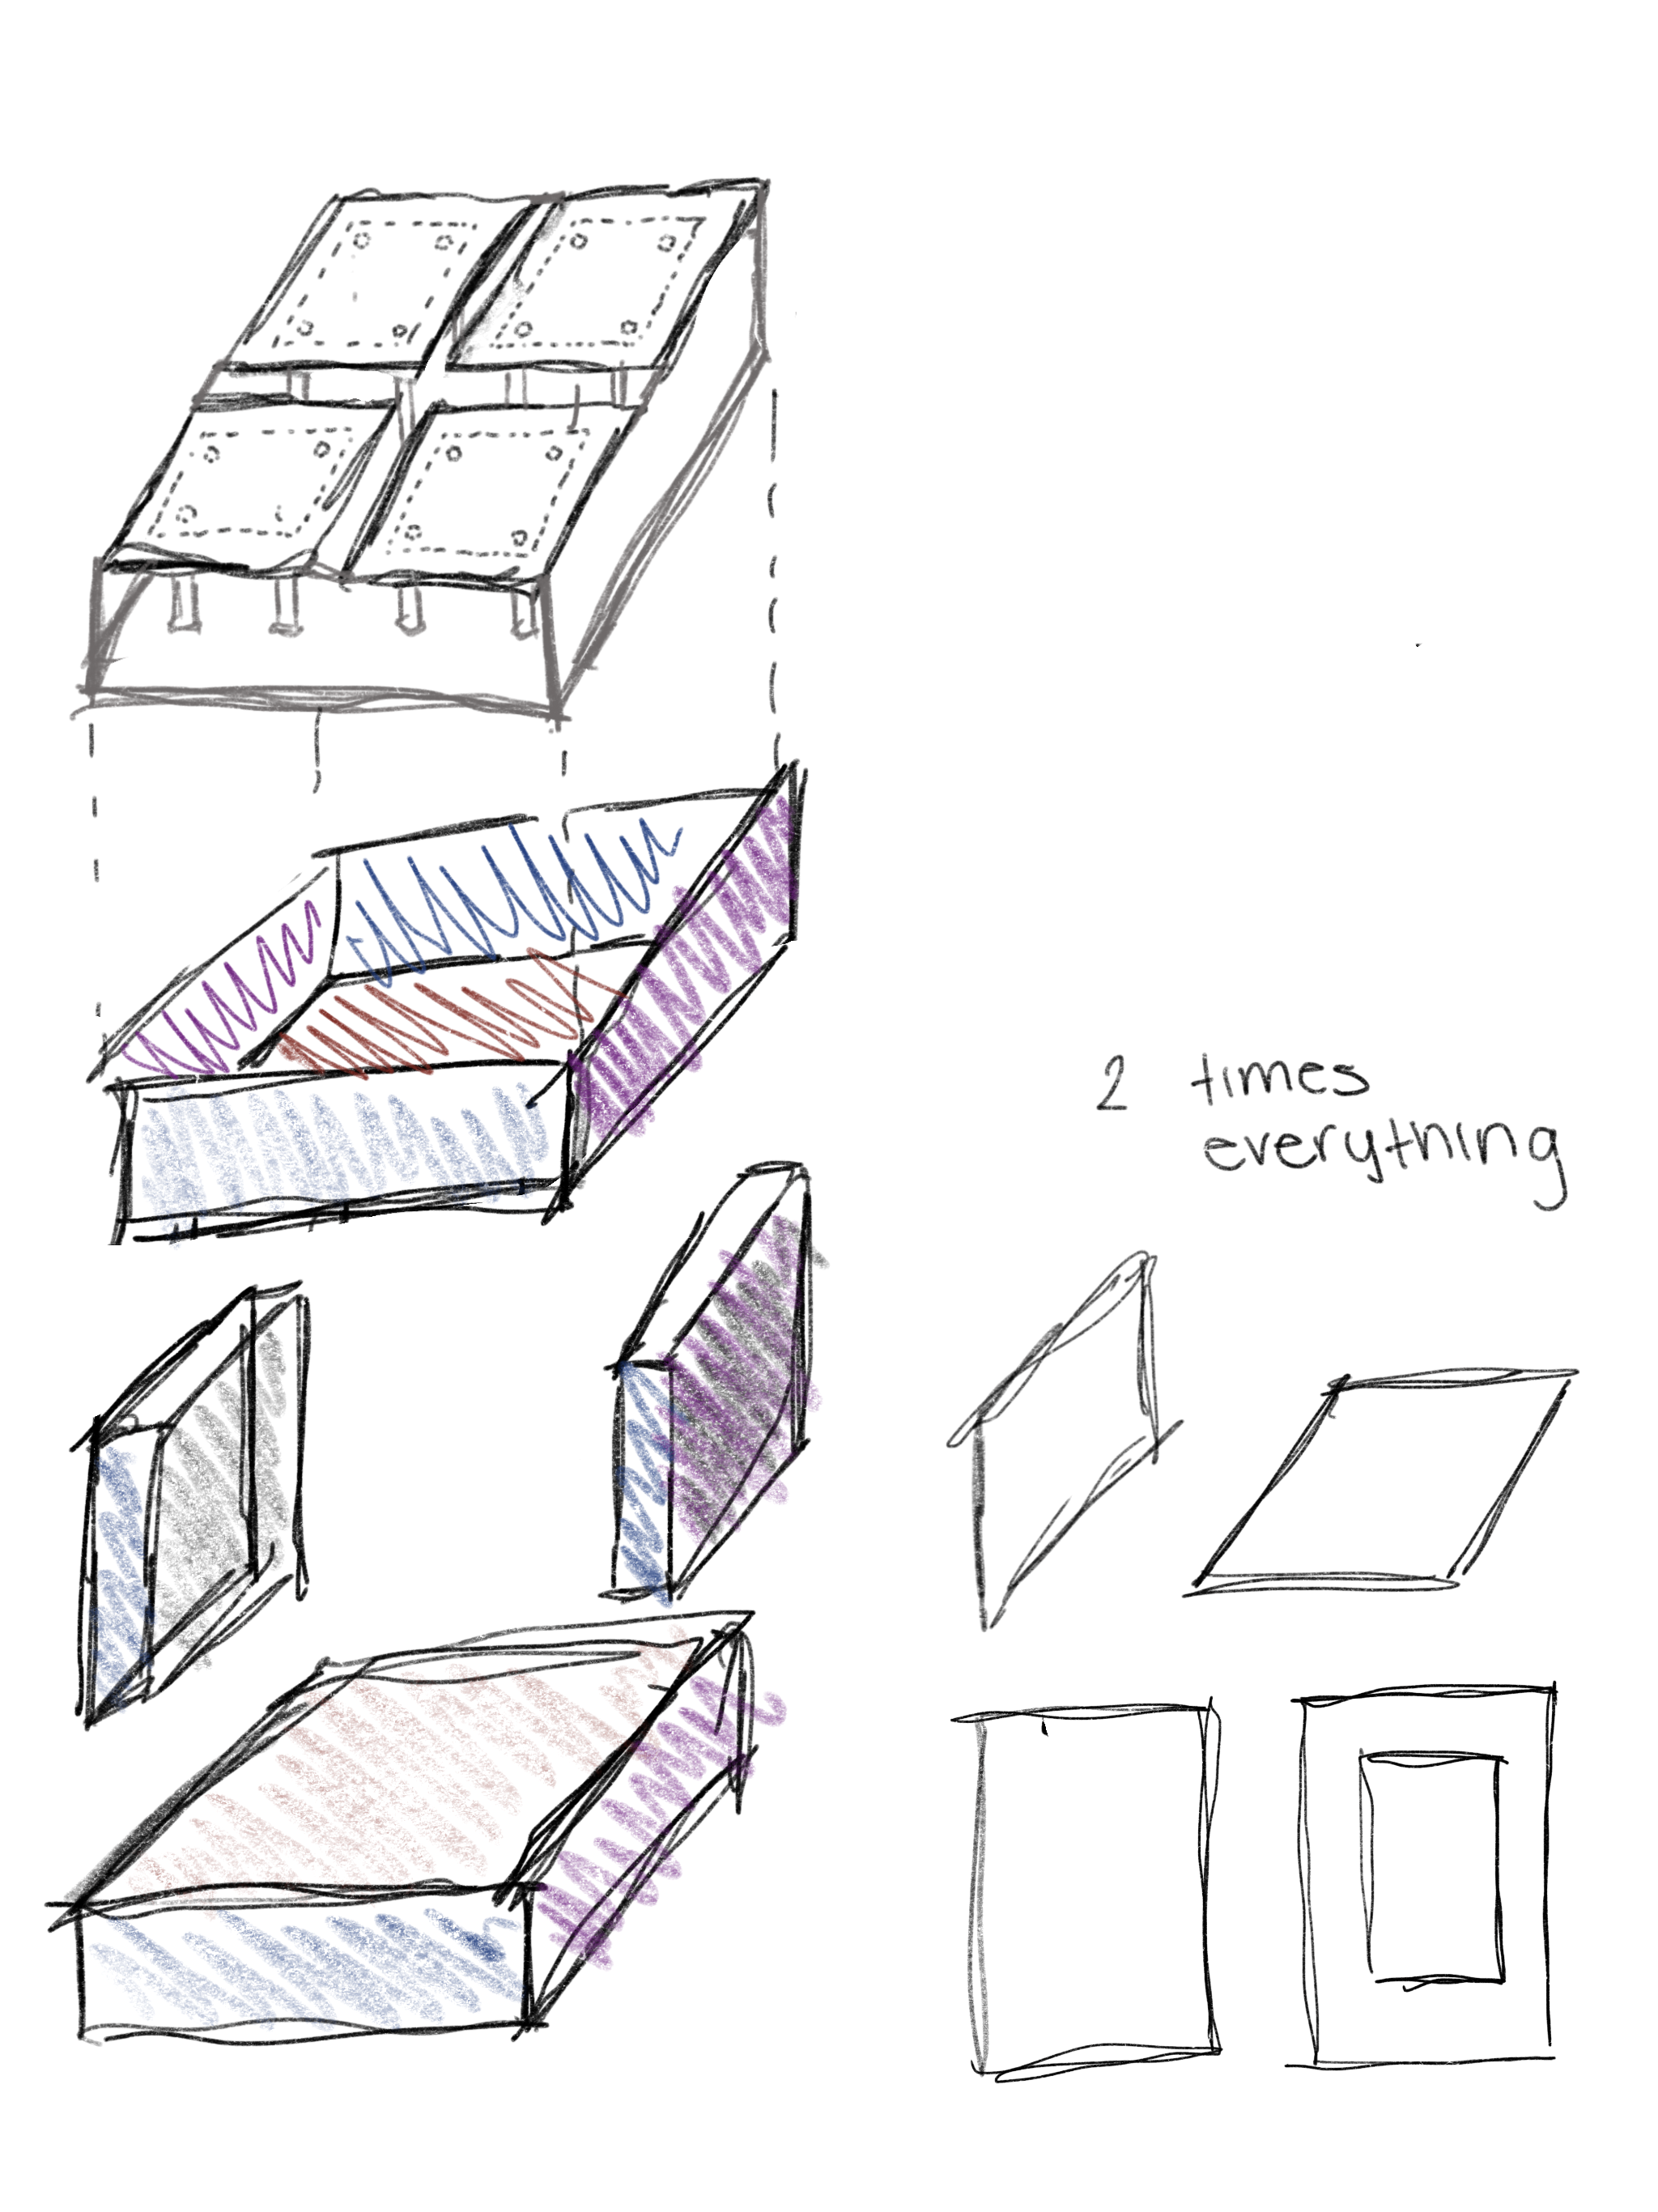
The table would be made from a quarter inch plywood and would have a panel located towards the top which the circuit can sit on.
As for the circuit we planed to have a stepper motor attached to a 3-D printed part that was shaped like an egg. As the stepper motor rotates the egg would push the panels upwards. The FSR would be placed between the two top panels, so based on whether there is any force the motor would spin. We would also have legs to prevent the panels from tilting.
Prototype 1
For our initial prototype we had not printed any parts yet, so we experimented with popsicle sticks and other items provided in our course kit. We attached part of a popsicle stick to our servo motor to push the panel up. We had wooden dowels that we used as temporary legs and plastic rings to hold them in place.
We focused on creating a prototype for one panel first, since it would be the same thing repeated multiple times. After building out our first prototype we noticed two main problems.
Identifying Problems
1 Thick Dowels
The dowels
would get stuck in the rings. To address this problem we used
thinner dowels, and 3-D printed support for the dowels with a larger diameter.
2 Weak Servo Motor
The
current servo motor and popsicle stick were not providing enough
force. In later iterations we used a stepper motor and 3-D printed
part to provide more force.
Prototype 2
In the second prototype we were able to collect our final components, which included 3-D printed parts, the new dowels, and the stepper motor. The next challenge in this process would be getting an accurate reading from the FSR and incorporating it into the panel. We began experimenting with the FSR by placing it on the top panel, but the results were quite varied and at times the FSR did not sense the phone.
Circuitry
For the code we used the wire library to communicate between the FSR and the stepper motor. Based on the reading of the FSR and the previous reading, the stepper motor would rotate.
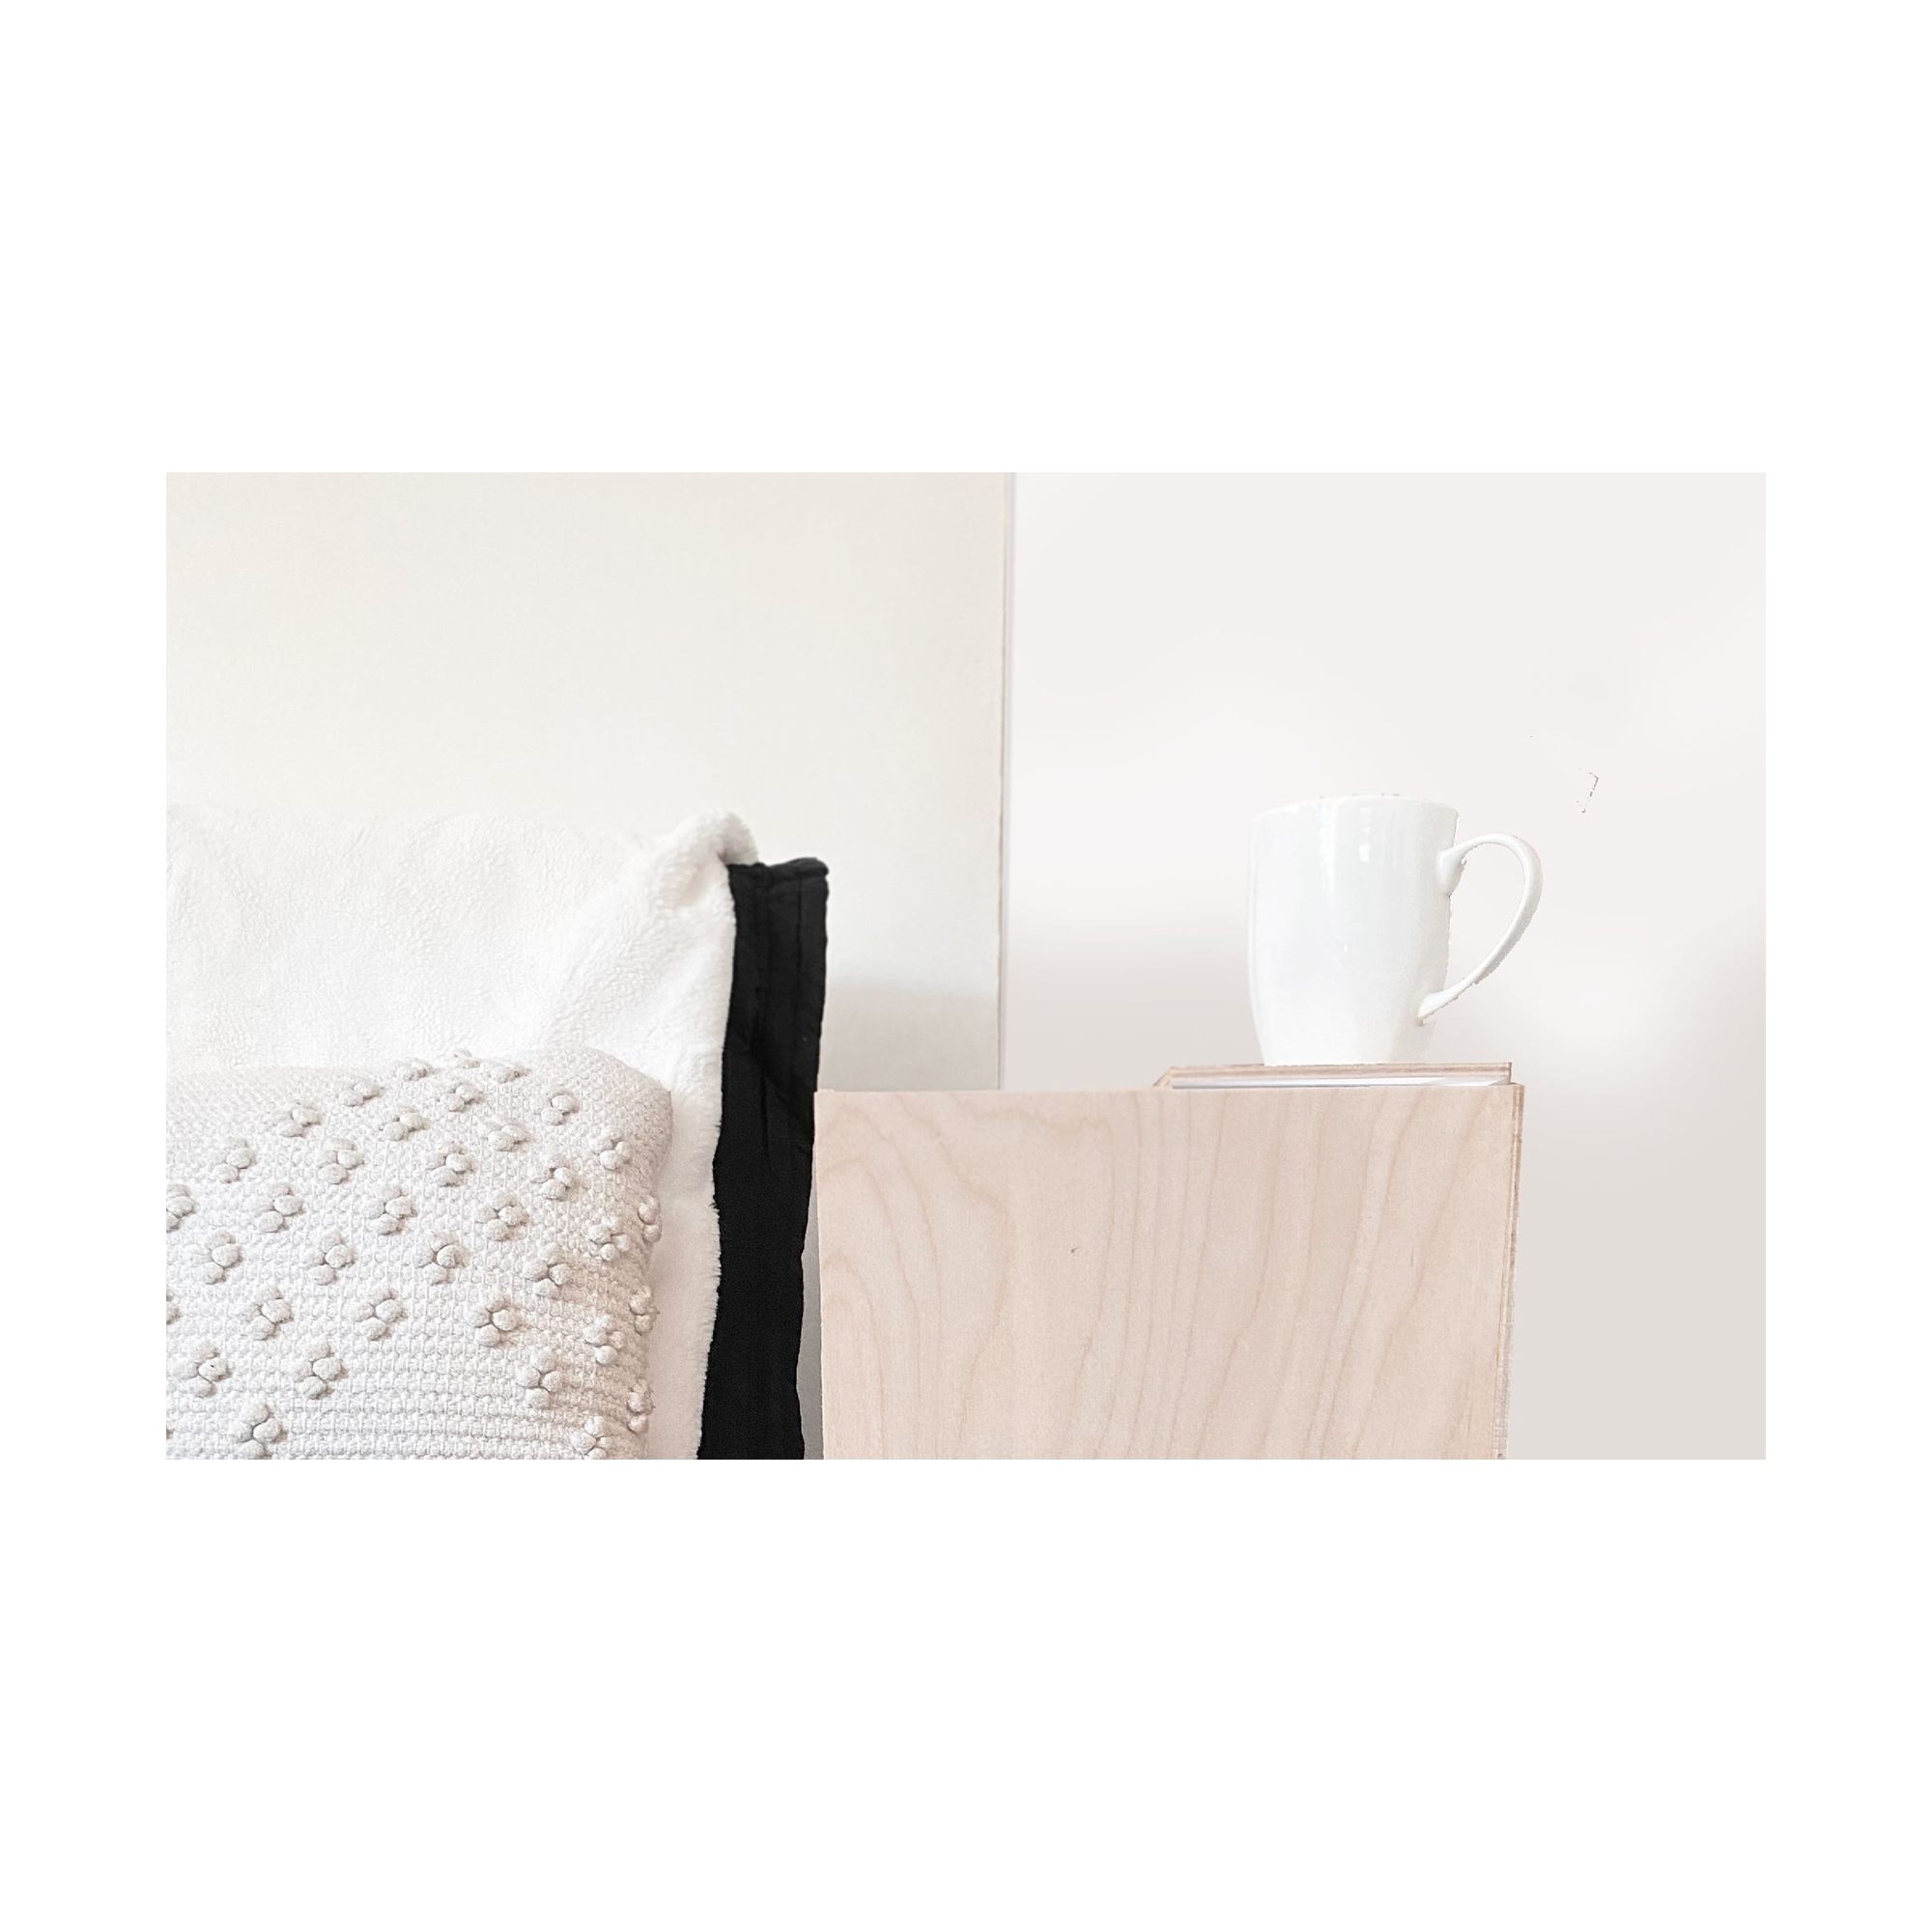
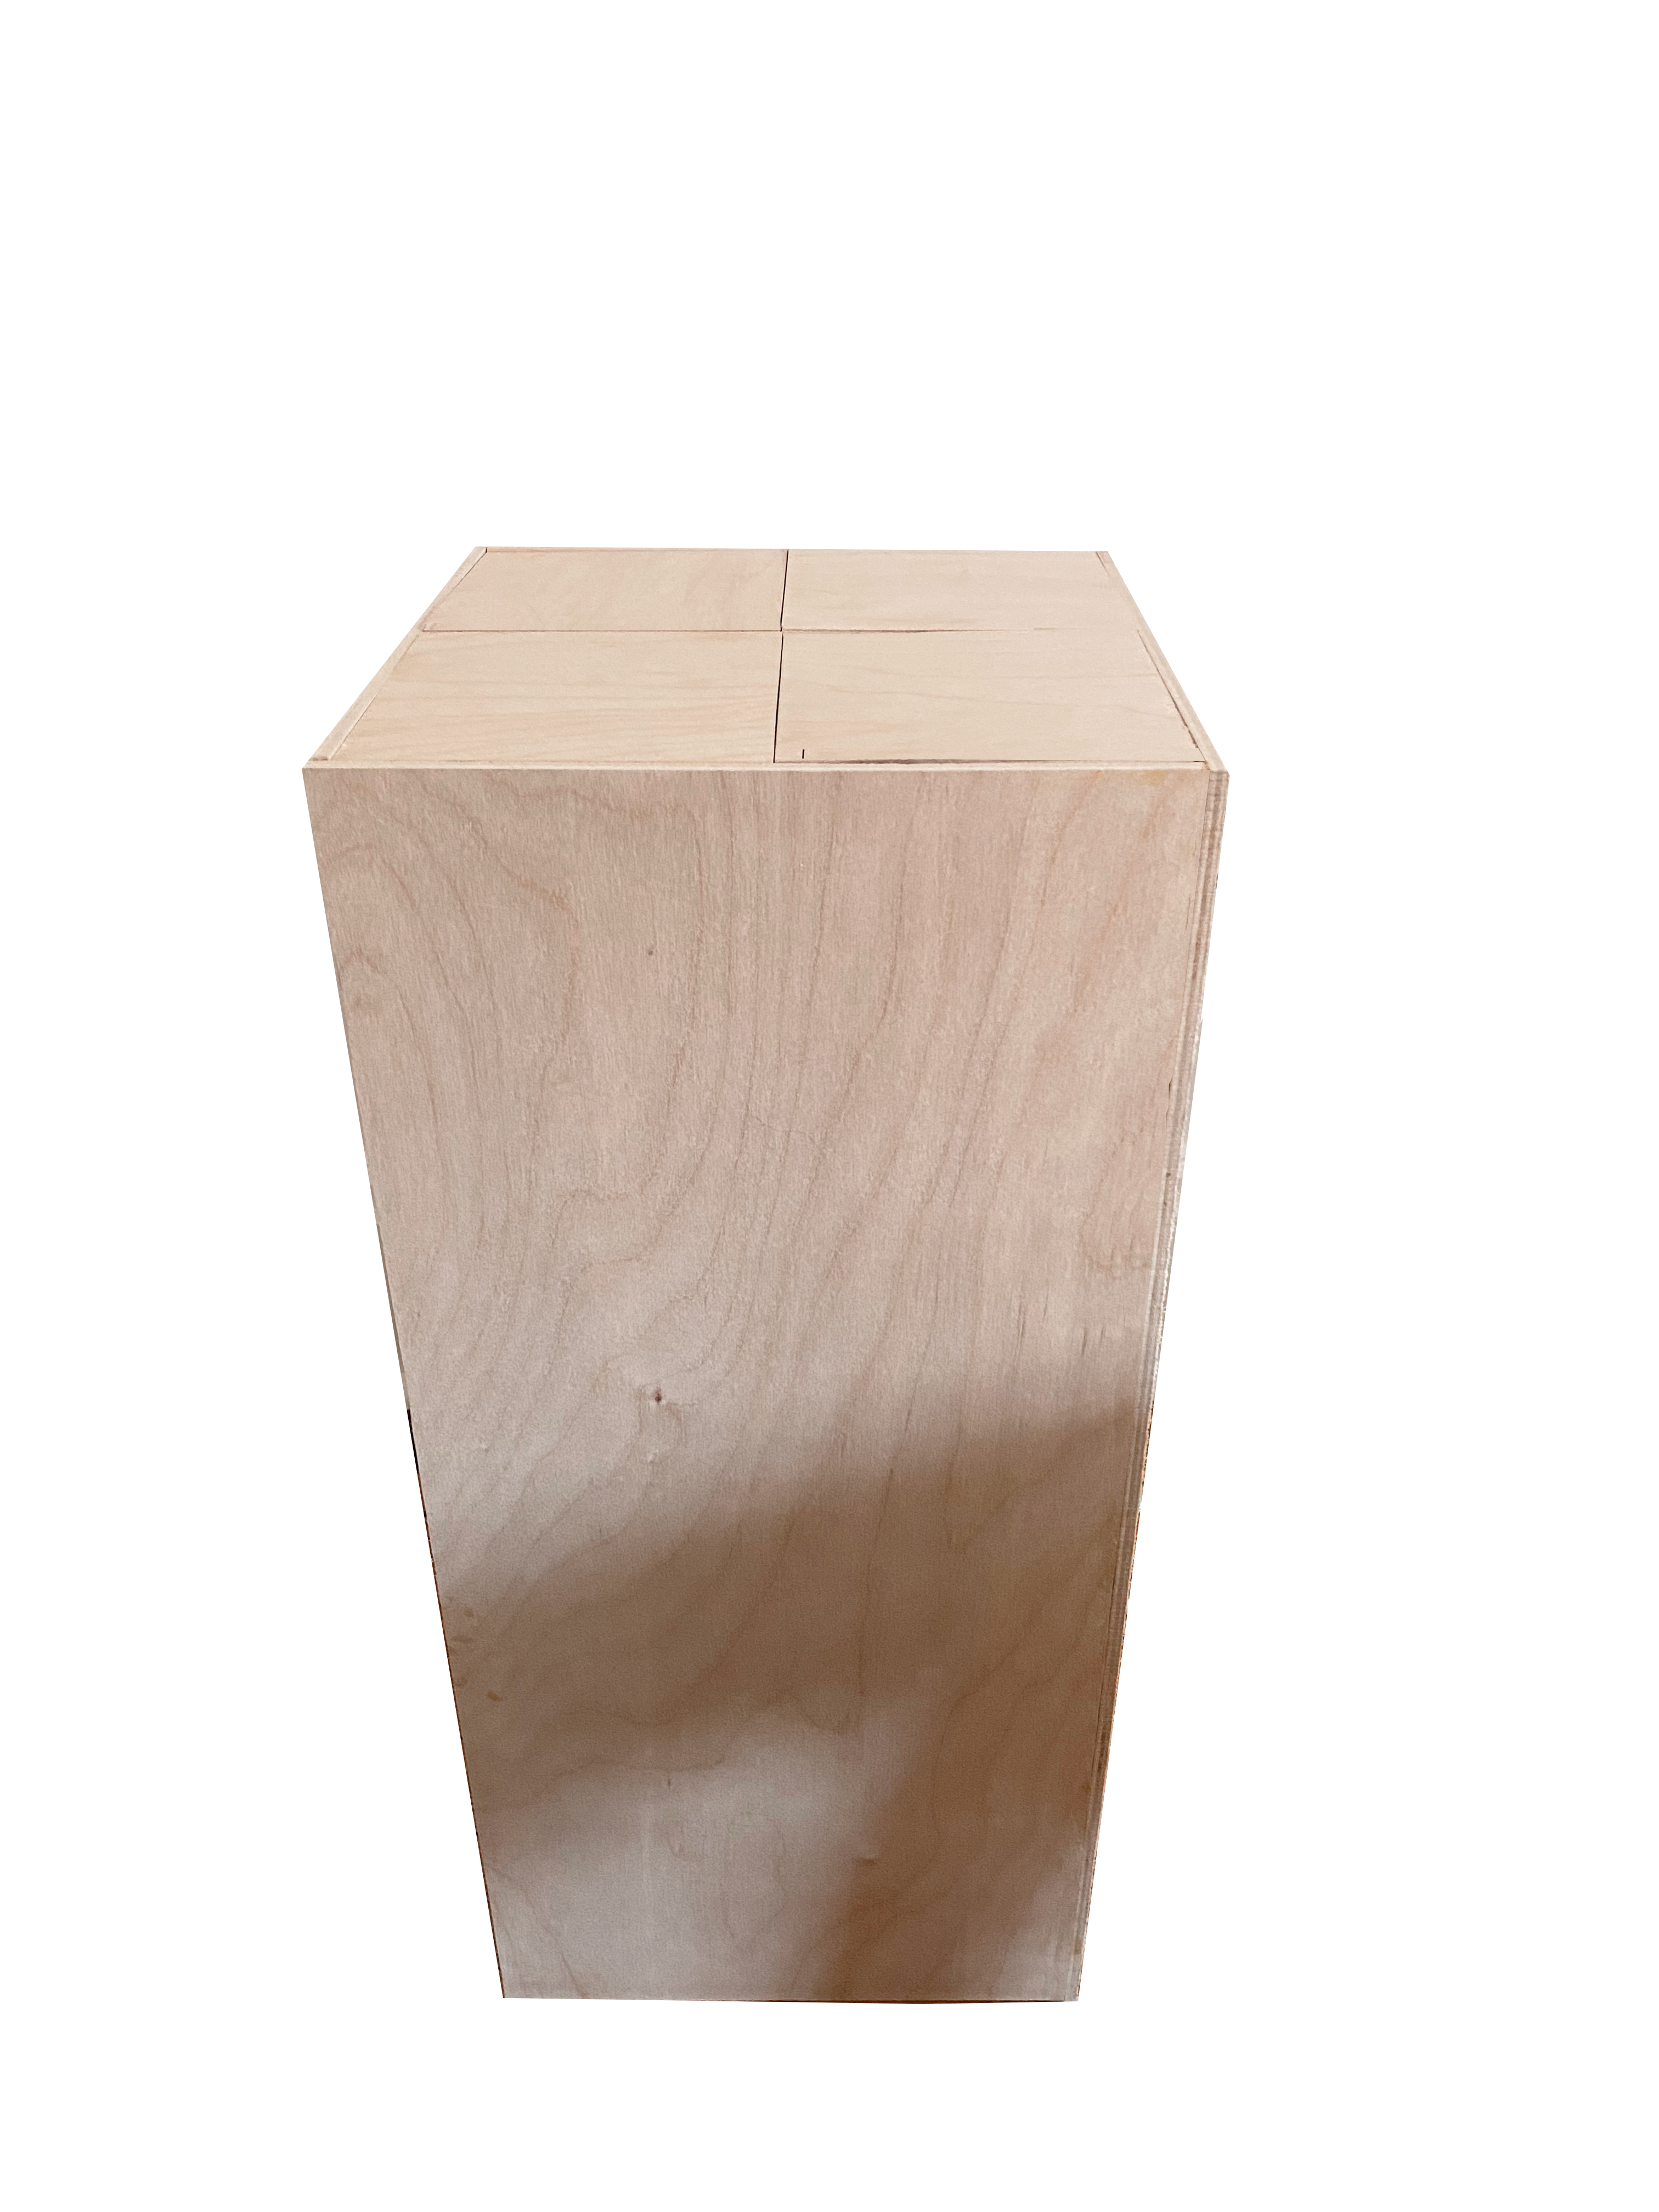
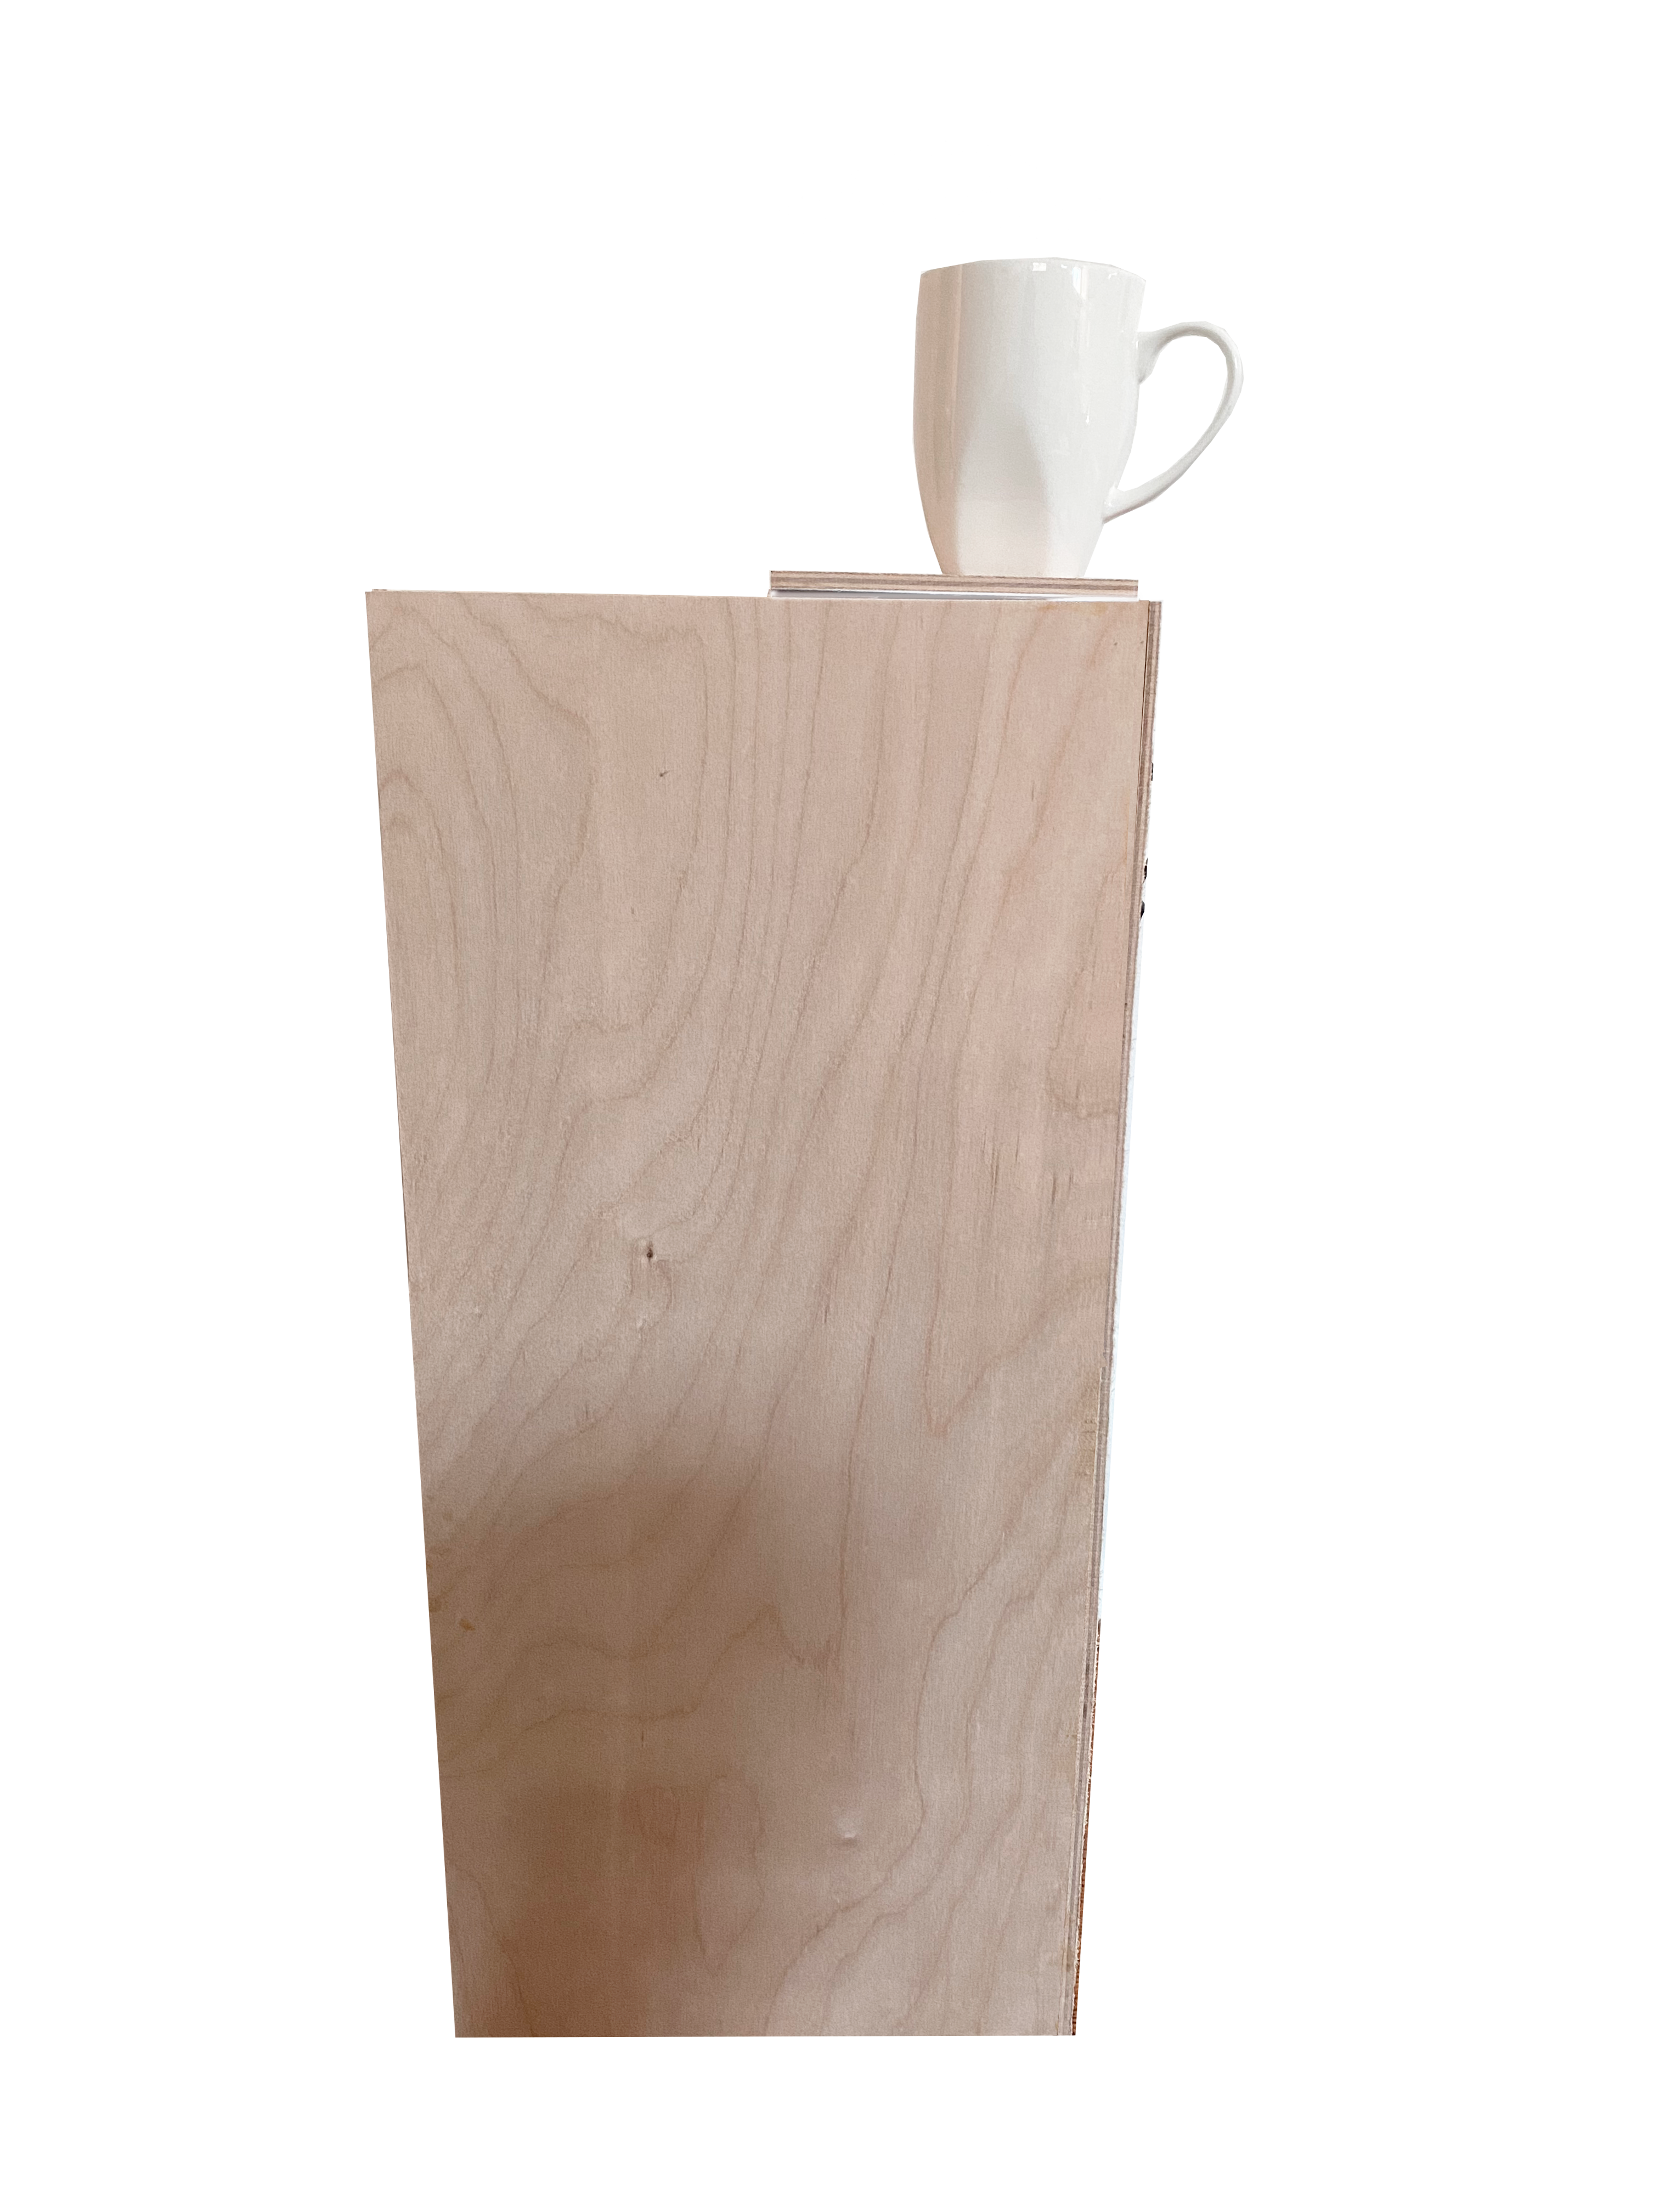
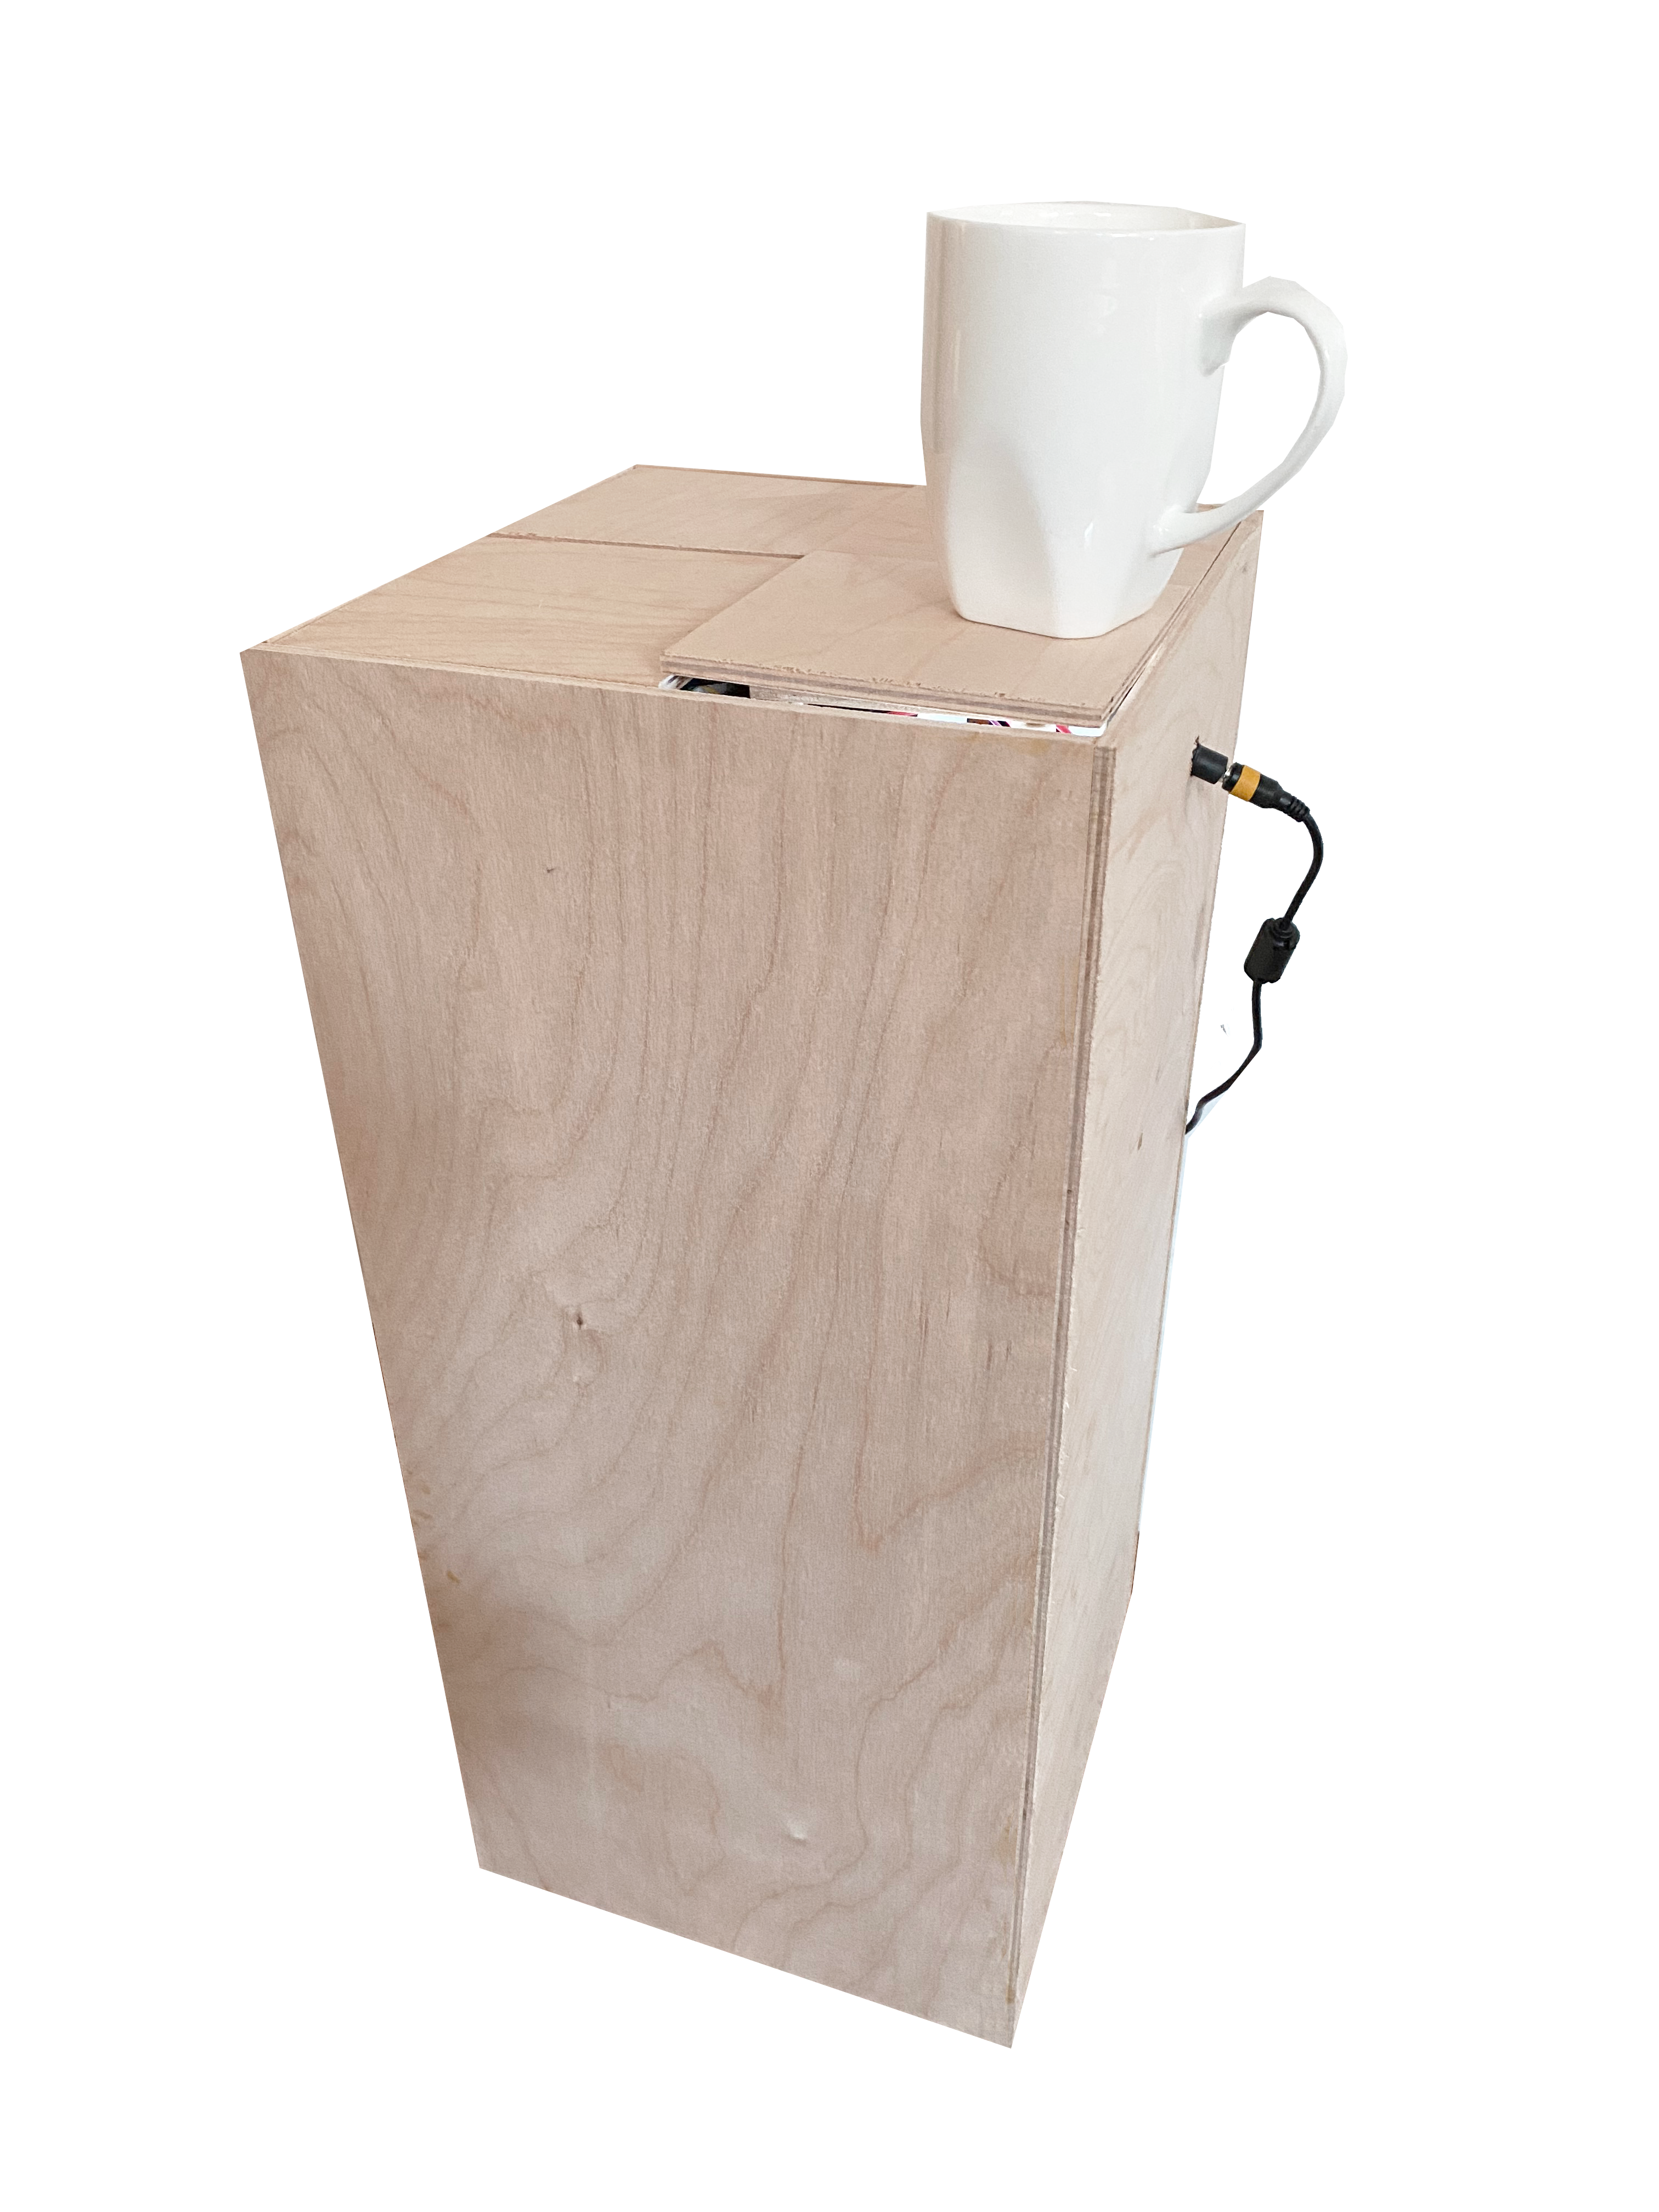
Final Design
We were pleased with our final product, and the experience it created for users. Our panel slowly elevates with a back light highlighting the mug. Elevate was successful in interacting with us, and treating the item with more consciousness rather than ignoring it.
There were many barriers shifting from a digital model to a physical, but we were able to address them through each iteration. In this final iteration we noticed three main issues that we wish we had time to address.
Barriers
1 Aligned Panels
Since the
FSR was under the panels they were creating uneven leveling
for the top panels.
We also had to make sure panels were not touching to prevent friction. This led to gaps and lots of opportunities for spillage between causing the circuit to be destroyed.
2 Inaccurate FSR
We were using
the smaller circular FSR's, the table did not always
respond to an item being placed on it. The force did not reach
the sensor or was not strong enough.
Next time we would choose to use the larger rectangular FSR's.
3 Restrictions
Due
to certain labs and machines having limited access
we were unable to go through with our original
idea for the table. We
initially planned to have the table be hollow, but were
unable to build it out with our time and resources.
Reflection
Through this process I have learned that 3-D modeling is extremely idealistic, especially with moving components. In rhino it is very easy to have complete control over each component, but in reality they bring their own hurdles that are not highlighted in a digital model.